
Passwords are easy to forget, easy to reuse and easy to steal through fake login pages. Passkeys fix those problems. Instead of typing a password, you confirm it is you with the same face scan, fingerprint or screen-lock PIN you already use to unlock your phone or computer. This guide shows you how to set up passkeys on the three accounts most people rely on: Google, Apple and Microsoft.
A passkey is made of a pair of cryptographic keys. The private half stays on your device or in your password manager, and the public half is stored by the website. Because a passkey only works on the real site it was created for, a lookalike phishing page cannot trick you into handing it over.
This guide is for everyday users with a personal account and a reasonably recent phone or computer. Menu names change from time to time and can differ by device and software version, so we note where paths vary and link to the official help pages.
Level: Beginner · Time needed: 20 minutes
Related list: Top 10 Ways to Protect Your Online Accounts in 2026
What you need
- A phone, tablet or computer with a screen lock (PIN, pattern, password, fingerprint or face unlock) turned on
- Up-to-date software: a recent version of Android, iOS, iPadOS, macOS or Windows, and a current browser
- The password for each account you want to secure, so you can sign in first
- Access to your account recovery options, such as a recovery phone number or email
- Optional: a password manager or a physical security key that supports passkeys
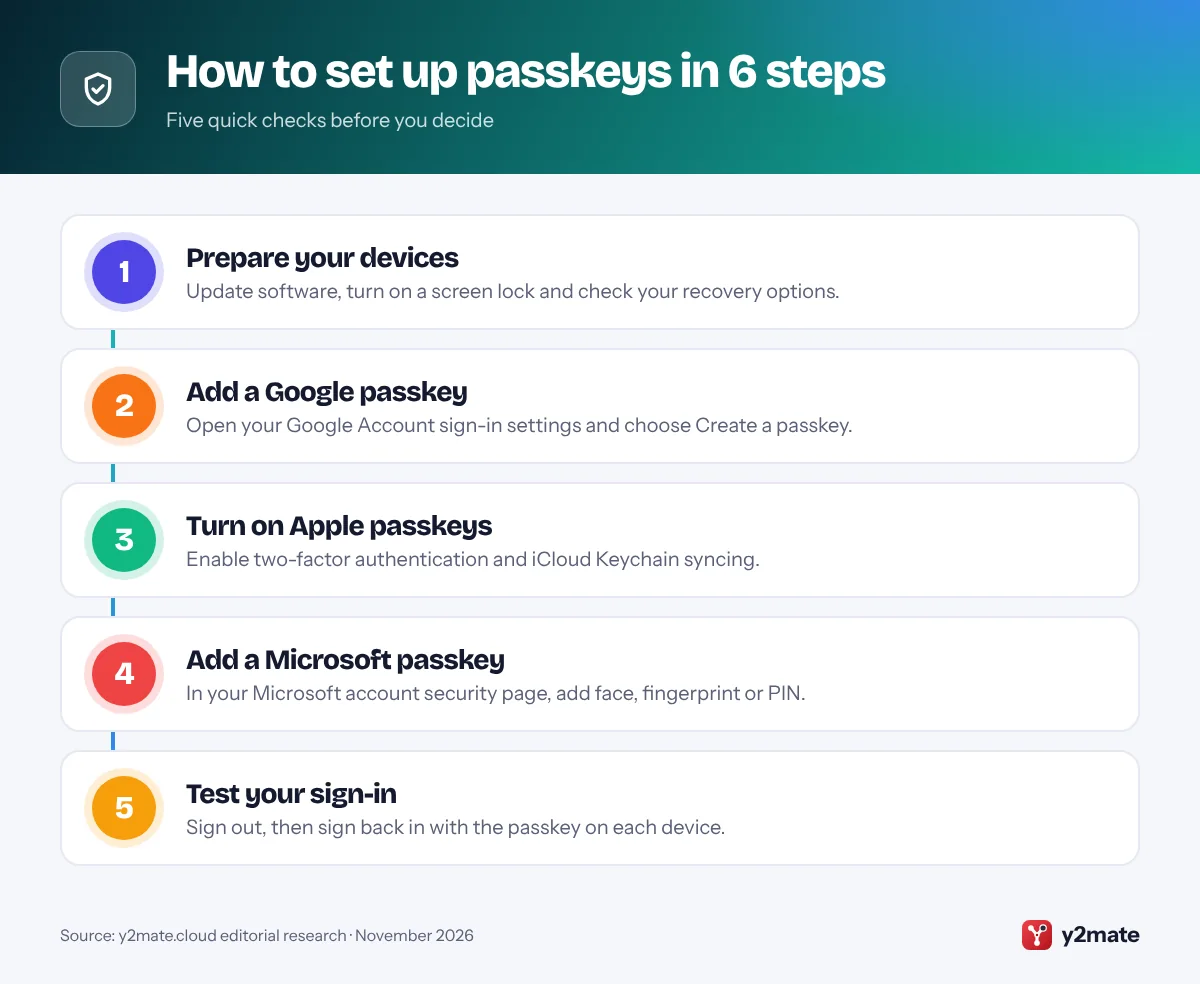
Step 1: Prepare your devices before you set up passkeys
A few minutes of preparation makes the rest of the process smooth. Passkeys rely on your device’s screen lock, so that has to be in place first.
- Update your software. Install the latest updates for your phone, tablet or computer, and your browser. Older versions may not support passkeys or may show different menus.
- Turn on a screen lock. On Android, look in Settings > Security (the exact name varies by manufacturer). On iPhone, use Settings > Face ID & Passcode or Touch ID & Passcode. On Windows, set up Windows Hello under Settings > Accounts > Sign-in options.
- Check your recovery options. Make sure each account has a current recovery phone number or email address. If you lose your device, these help you get back in.
- Use personal devices only. Anyone who can unlock a device that holds your passkey may be able to sign in to your account, so do not create passkeys on shared or public computers.
Work and school accounts are managed by an administrator. If you cannot find passkey options on those accounts, your organisation may not have turned them on yet.
Step 2: Create a passkey for your Google Account
Google lets personal account holders create passkeys on phones, computers and security keys. On some Android phones signed in to your Google Account, a passkey may already have been created for you automatically.
- On the device you want to use, go to myaccount.google.com/signinoptions/passkeys and sign in. Alternatively, open your Google Account, select the Security tab (labelled Security & sign-in on some versions), and under How you sign in to Google choose Passkeys and security keys.
- Select Create a passkey, then Continue.
- Unlock your device with your fingerprint, face, PIN or screen lock when prompted.
- The new passkey appears in your list, usually named after the device or password manager that stores it.
To store the passkey on a physical security key instead, choose the option to use another device during creation and follow the prompts.
Once you have a passkey, Google will generally offer it first when you sign in, but you can still choose to use your password. Repeat these steps on each device you use regularly, unless your passkey already syncs through a password manager such as Google Password Manager or iCloud Keychain.
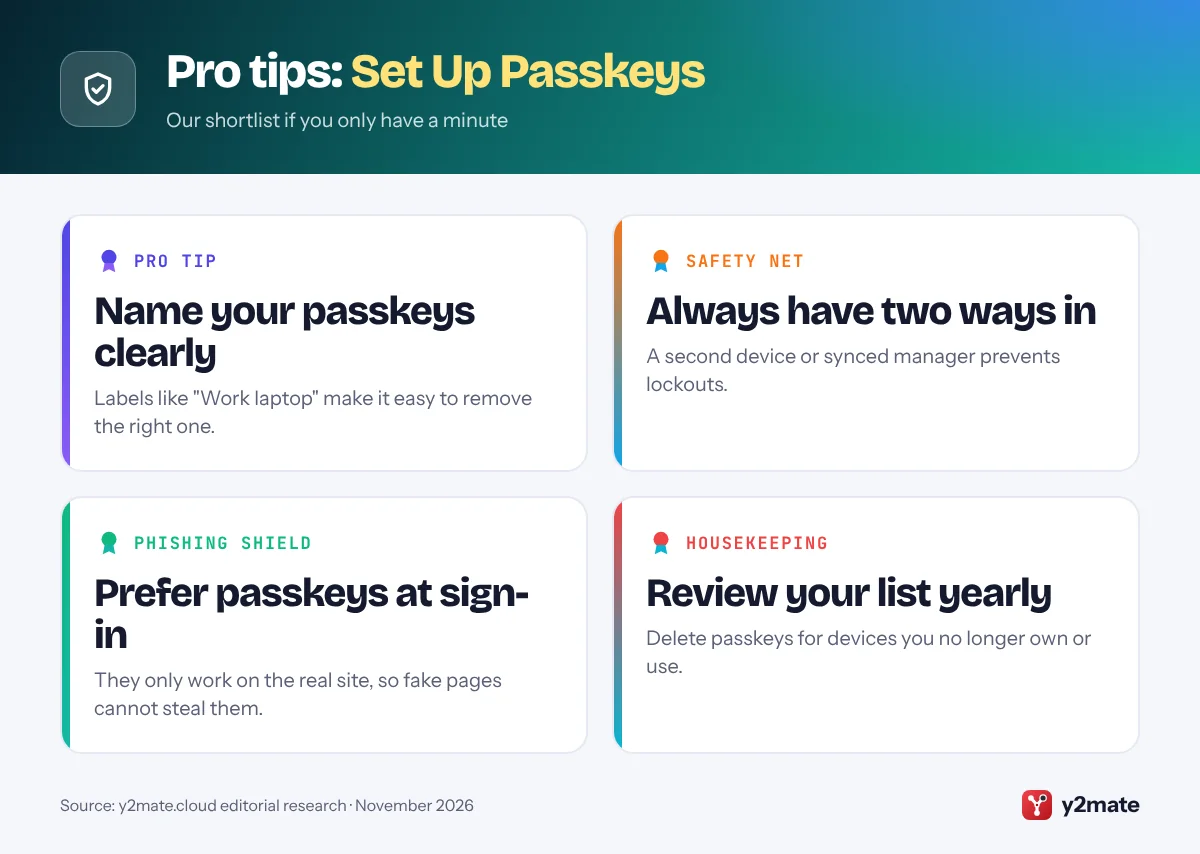
Step 3: Turn on passkeys for your Apple Account
Apple handles passkeys a little differently. There is no separate “create a passkey” button for your Apple Account. Instead, when your devices meet Apple’s requirements, they can sign you in to Apple’s websites with a passkey, and they store passkeys you create for other sites in iCloud Keychain.
- Turn on two-factor authentication. On iPhone, go to Settings > [your name] > Sign-In & Security (called Password & Security on older versions) and check that Two-Factor Authentication is on. Most Apple Accounts already have it.
- Turn on iCloud Keychain syncing. Go to Settings > [your name] > iCloud, open Passwords (shown as Passwords and Keychain on some versions) and turn on Sync this iPhone. On a Mac, find the same option under System Settings > [your name] > iCloud.
- Sign in to an Apple website with your passkey. On a browser, enter your Apple Account email and look for a passkey or “Sign in with iPhone” option. You may be shown a QR code to scan with your iPhone, then confirm with Face ID or Touch ID.
Passkeys you save on Apple devices appear in the Passwords app on iOS 18, iPadOS 18, macOS Sequoia and later. Apple has rolled out passkey sign-in for Apple websites gradually, so the option may look different or not appear in every case. See Apple’s passkey help page for current details.
Step 4: Add a passkey to your Microsoft account
Personal Microsoft accounts, the kind you use for Outlook.com, Xbox or Microsoft 365 at home, support passkeys stored on Windows Hello, your phone or a security key.
- On the device where you want the passkey, go to account.microsoft.com/security and sign in.
- Select Manage how I sign in (on some versions this appears as Advanced security options or Additional security options).
- Choose Add a new way to sign in or verify.
- Select Face, fingerprint, PIN, or security key.
- Follow the prompts from Windows Hello, your phone or your security key, and give the passkey a name you will recognise, such as “Home laptop”.
The passkey then appears under Ways to prove who you are. Next time you sign in, look for Sign-in options or Other ways to sign in and choose face, fingerprint, PIN or security key.
For a work or school Microsoft account, the path is different: go to mysignins.microsoft.com/security-info, select Add sign-in method and pick a passkey option. This only works if your organisation allows passkeys, and it may limit which types you can use.

Step 5: Test your passkey sign-in
Do not wait until you are locked out to discover a problem. Test each passkey right after you create it.
- Open a private or incognito browser window, or sign out of the account.
- Go to the account’s sign-in page and enter your email address or username.
- When offered, choose the passkey option. If the site asks for a password first, look for a link such as Try another way, Other ways to sign in or Sign-in options.
- Confirm with your fingerprint, face or PIN. You should be signed in without typing a password.
Next, try signing in from a device that does not have the passkey, such as a friend’s computer you are allowed to use briefly. Many browsers will display a QR code. Scanning it with your phone lets you use the passkey stored on your phone, as long as Bluetooth is turned on for both devices so they can confirm they are near each other.
If everything works on Google, Apple and Microsoft, you have successfully set up passkeys on your main accounts. Remember to sign out of any borrowed device afterwards.
Step 6: Keep a backup plan and tidy up
Passkeys are safer than passwords, but you still need a way back in if a device is lost, stolen or replaced.
- Have more than one way in. Create passkeys on a second device, or use a password manager that syncs passkeys across your devices, such as Google Password Manager, iCloud Keychain or a third-party manager that supports them.
- Keep recovery details current. Check your recovery phone number and email on each account at least once a year.
- Keep your password for now. Most personal accounts still let you sign in with a password as a fallback. Make sure it is strong and unique, and stored safely in your password manager.
- Remove old passkeys. When you sell, give away or lose a device, go back to the passkey list in your Google, Microsoft or Apple settings and remove any entries linked to it. In Google and Microsoft, select the passkey and choose the delete or remove option.
Some services let you go fully passwordless and remove your password entirely. Only do this once you have at least two working passkeys or a reliable recovery method, so a single lost phone cannot lock you out.
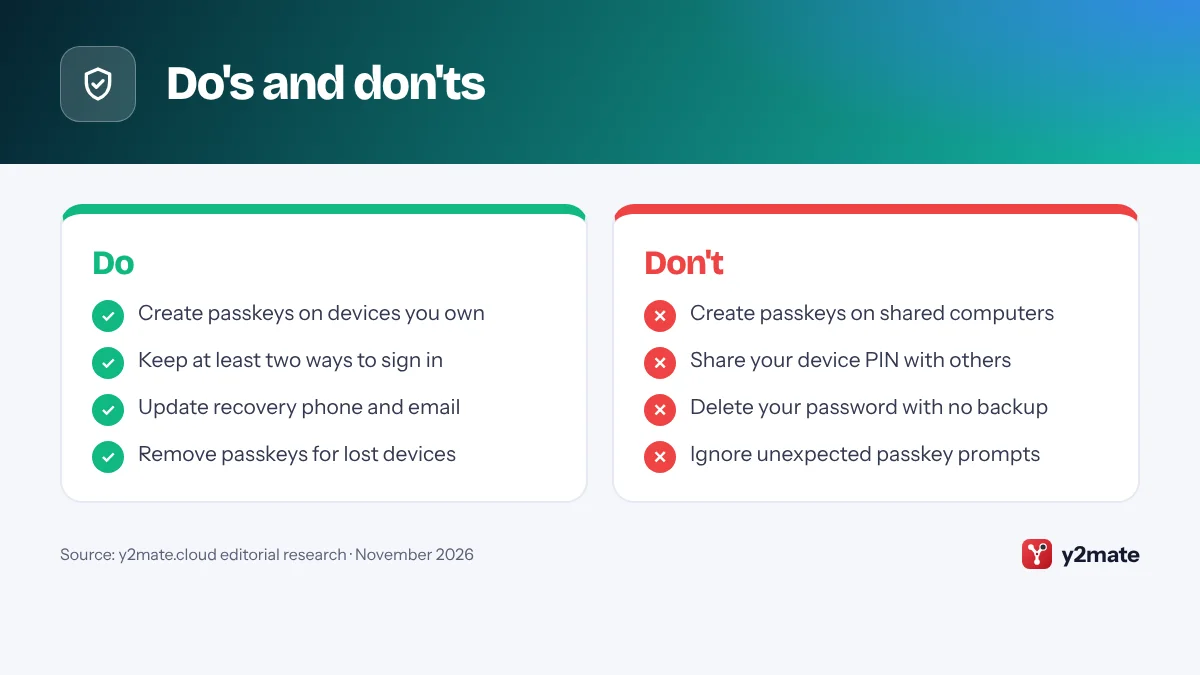
Do's and don'ts
Key terms

Troubleshooting
I do not see the option to create a passkey
Update your device and browser, and make sure a screen lock is turned on. If it is a work or school account, your administrator may not have enabled passkeys. Menu names also vary, so try the direct links in this guide.
The QR code sign-in on another computer fails
Turn on Bluetooth on both your phone and the computer, keep them close together, and make sure both have an internet connection. Try a different, up-to-date browser if the problem continues.
My passkey does not appear on my new phone
Passkeys only move to new devices if they are synced through a password manager. Check that you are signed in with the same account and that syncing is on, such as iCloud Keychain on Apple devices or Google Password Manager on Android. Otherwise, create a new passkey on the new device.
I lost the only device with my passkey
Sign in with your password or use the account’s recovery process with your recovery phone or email. Once you are back in, remove the passkey for the lost device and create a new one.
Frequently asked questions
Are passkeys safer than passwords?
Yes, in most everyday situations. A passkey cannot be guessed, reused across sites or typed into a fake login page, because it only works on the real website it was created for. The website never stores a secret that hackers could steal and use to sign in. Your biometric data stays on your device and is not shared with the site.
Does Google, Apple or Microsoft see my fingerprint or face?
No. Your fingerprint or face scan is only used locally to unlock your device. The website receives a cryptographic confirmation that you approved the sign-in, not your biometric data. This is the same way face and fingerprint unlock already work on your phone or laptop, so nothing new about your body is sent anywhere.
Can I still use my password after I set up passkeys?
In most cases, yes. Google, Apple and Microsoft personal accounts generally keep your password as a fallback after you add a passkey. Some services let you remove the password entirely for a fully passwordless account. Only take that step once you have at least two working passkeys or another reliable recovery method in place.
What happens if my phone is lost or stolen?
A thief would still need to unlock your phone to use the passkeys on it. Sign in from another device using a synced passkey, your password or account recovery, then remove the passkeys linked to the lost phone from each account's security settings. Use your phone maker's find-my-device service to lock or erase it.
Can I use passkeys on a computer I do not own?
Yes, without saving anything to that computer. Choose the option to use a phone or another device when signing in. The browser will usually show a QR code that you scan with your phone, then you confirm with your fingerprint, face or PIN. Afterwards, sign out of the account on that computer.
Wrapping up
It only takes a few minutes to set up passkeys on your Google, Apple and Microsoft accounts, and the payoff is real: faster sign-ins and strong protection against phishing. Prepare your devices, add a passkey to each account, test it, and make sure you always have a second way in.
Once your main accounts are covered, look for passkey options on other services you use, such as shopping, banking and social media sites. Many now offer them in their security or sign-in settings, and the steps are similar to those in this guide.
Sources and further reading
- FIDO Alliance on passkeys: The standards body behind passkeys explains how they work and why they are safer than passwords.
- sites that support passkeys: The FIDO Alliance's directory lists websites and apps that already let you sign in with a passkey.
- use passkeys on iPhone: Apple's step-by-step guide to creating and signing in with passkeys on iPhone.
- security of passkeys: Apple describes how passkeys are protected with end-to-end encryption and synced securely across your devices.

Leave a Reply